I took a bunch of pictures as I was painting the car, so I could show how I work. I started with a photo reference, and since I'm on the computer I can basically use this as the basic form for my painting. I start by roughly slopping down some colors to describe the car, layered on top of the photo:
Next I can remove the photo reference, and continue "bulking in" the shapes of the car. Here you can see I have all the basic shapes in place.
Once the shapes are done, it's time to begin adding the bits that make it all look "real," which is light and shadow, and also cleaning up the edges to sharpen the look a bit. I began with some very basic shadows and details, like this:
Next I decided I needed to change the color scheme a bit, which since I was working in a layered environment was not difficult to do. Then I began to add some highlight and more shadows.
Notice that this stuff is really doing a good bit to describe the shape of the car, without adding any extra lines. But it's still much too soft. So I kept going:
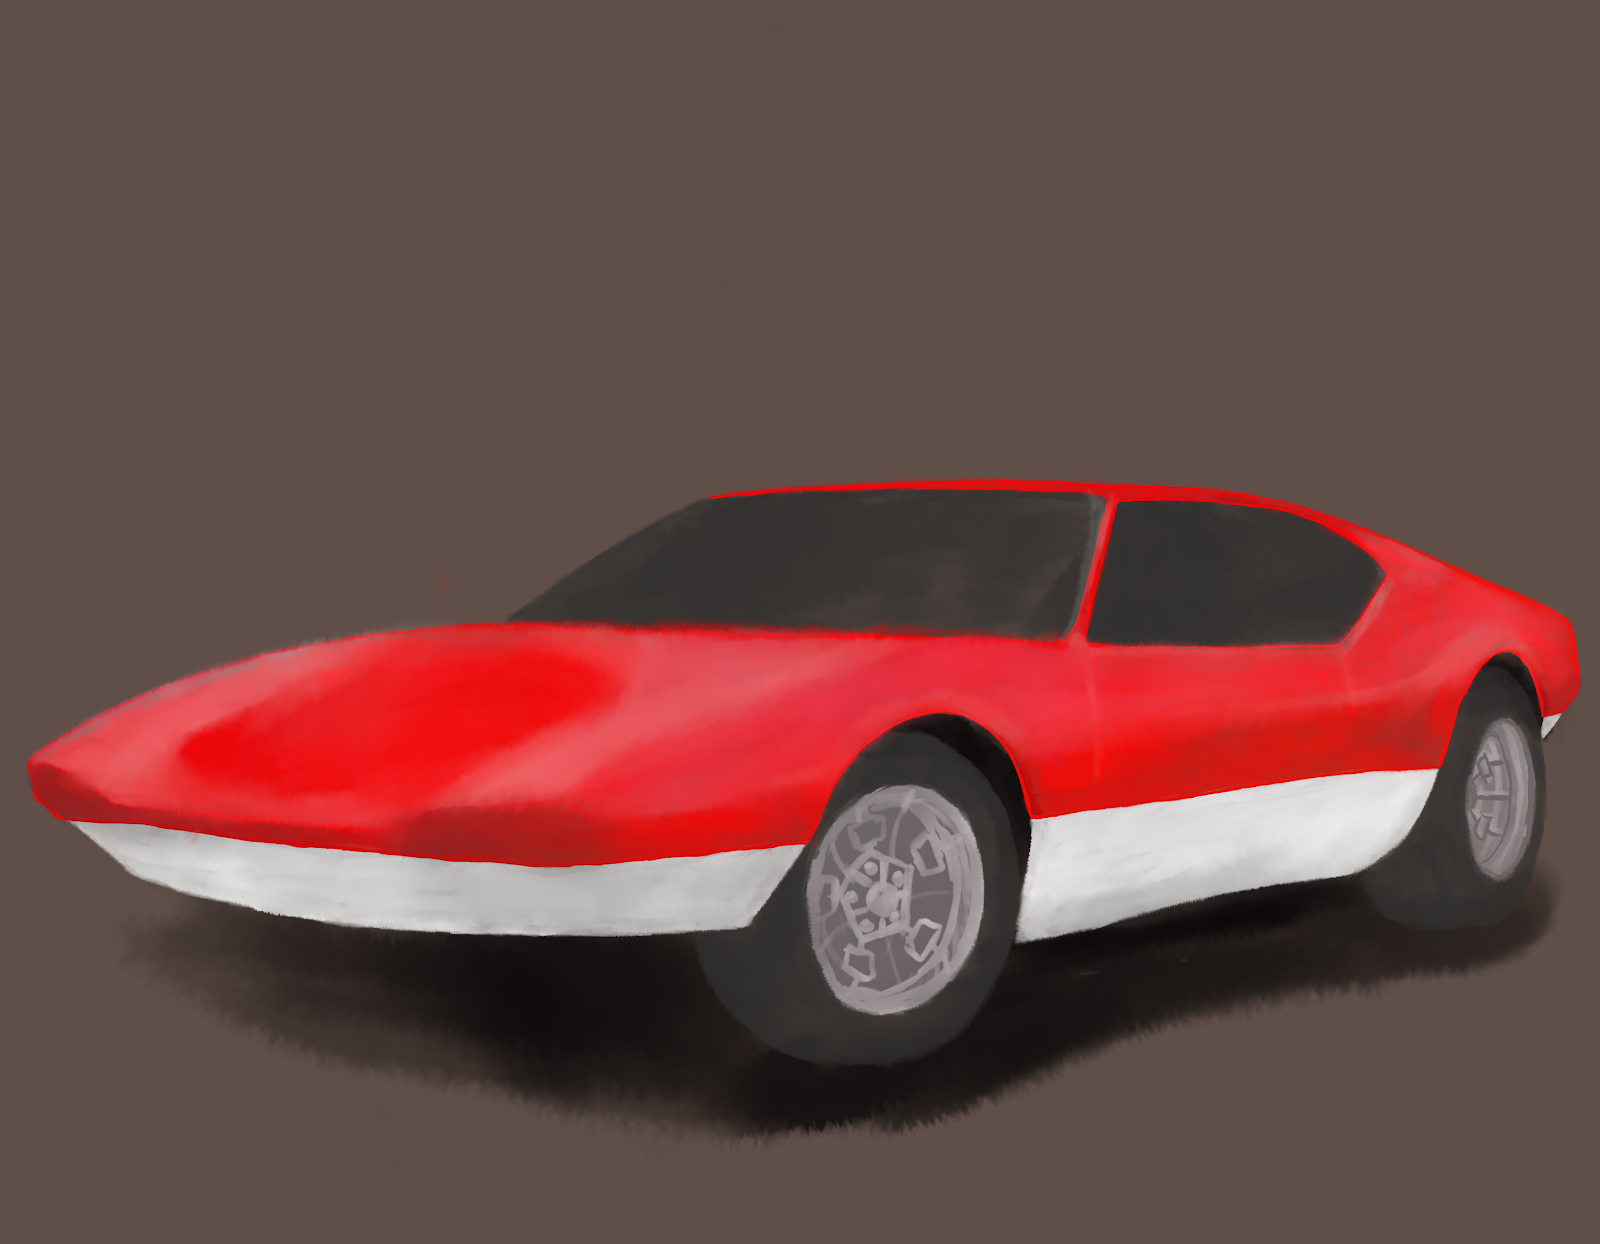
At this point my eyes and fingers were getting very tired, so I decided to play around a little bit more with some background stuff (airbrush set for big splats, and a fat eraser to "slice" up the spray into skid marks,) and call it a day.


No comments:
Post a Comment